
Oh snap! Have you utilized the snapping feature in your GIS before? If not, we are here to give you a quick rundown on it's function/purpose! The textbook GIS definition of "snapping" is: The process of moving a feature to match or coincide exactly with another point or feature's coordinates when your pointer is within a specified distance. It is commonly used to increase accuracy when using a variety of tools including editing, georeferencing, and measuring tools.
Now that we have gotten that out of the way, let us move onto the...exciting part!?
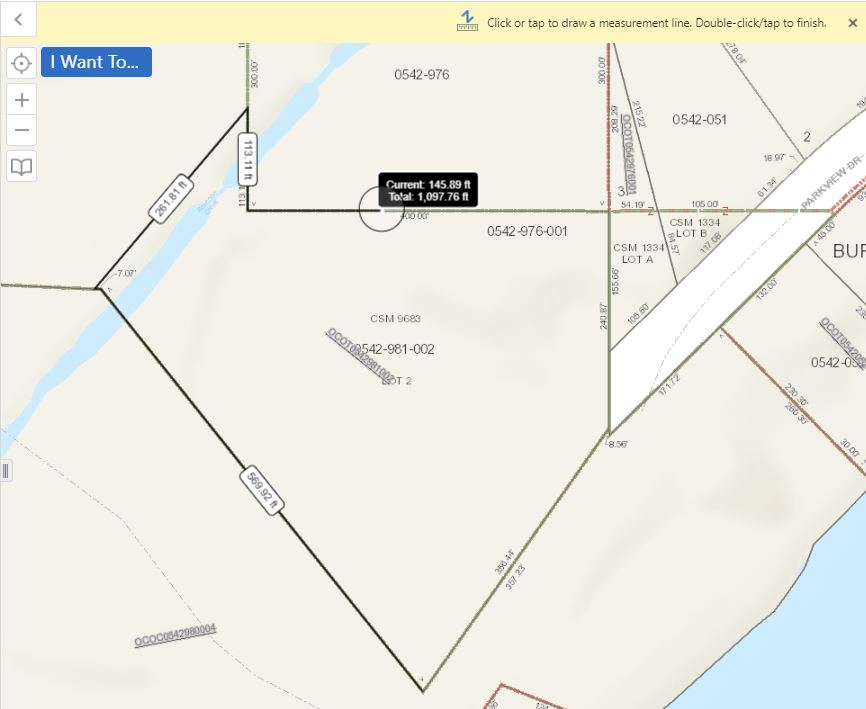
Under the Markup tab in your application, you will notice the snapping options when clicking on the measuring tool. You may either disable snapping or select which layers you would prefer to be "snappable."
Typically, when using the measuring tool, you will only want one layer to be snappable. Once you have selected your layer (in this case we chose "tax parcel"), it is smooth snapping!

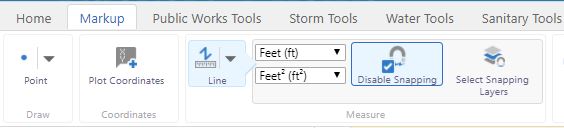
As you can see in the image below, we are able to snap to each vertex on the tax parcel polgon, leaving us with a measurement of individual line segments.
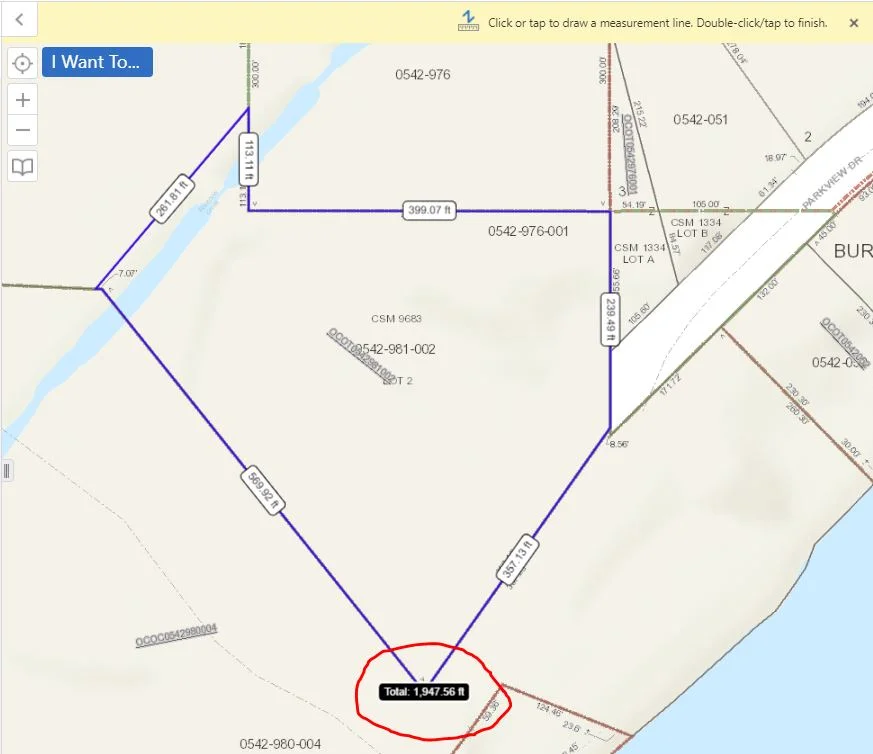
Once we have finished tracing our polygon, we can double click to finish drawing. This provides us with an accurate total measurement of the tax parcel.

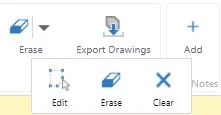
If you happen to despise the measurement markup you have created, if it makes you want to snap (*face palm*), worry not! You are able to easily edit, erase, or clear the drawing. On the other hand, if you simply adore your freshly snapped tax parcel measurement, you have the to option to export it as a shapefile or save it as a project.
We hope you enjoy the rest of your Tip Tuesday. Thank you as always for stopping by to visit!
