
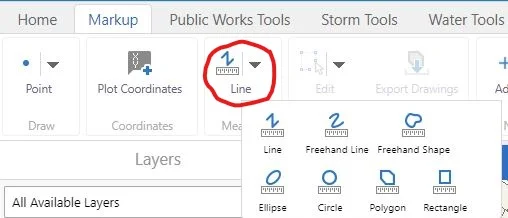
Today we will be going over the measuring tool. First, we want to choose a form of measurement. In this case, we will choose a polygon.

The snapping feature allows for more accuracy in measurement. As you may notice in the screen shot below, we are also able to change our units of measurement by simply clicking on the drop down lists next to them.

Once we have traced the area we our interested in measuring, we double click to close our polygon; the final results include the area and perimeter, as well as the length of individual lines.

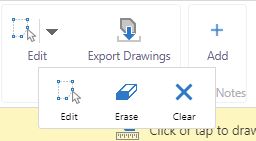
We are able to easily edit, erase, or clear our measurements if not to our liking. No worries if we make a mess in our GIS!
After creating a measurement drawing, we can click on our polygon, select "styles" and add a customized look to the area if desired.

As in most cases when adding markups into your GIS application, you must save them as a project, otherwise all of your hard work will be gone after your application is closed!
Until next time!
