
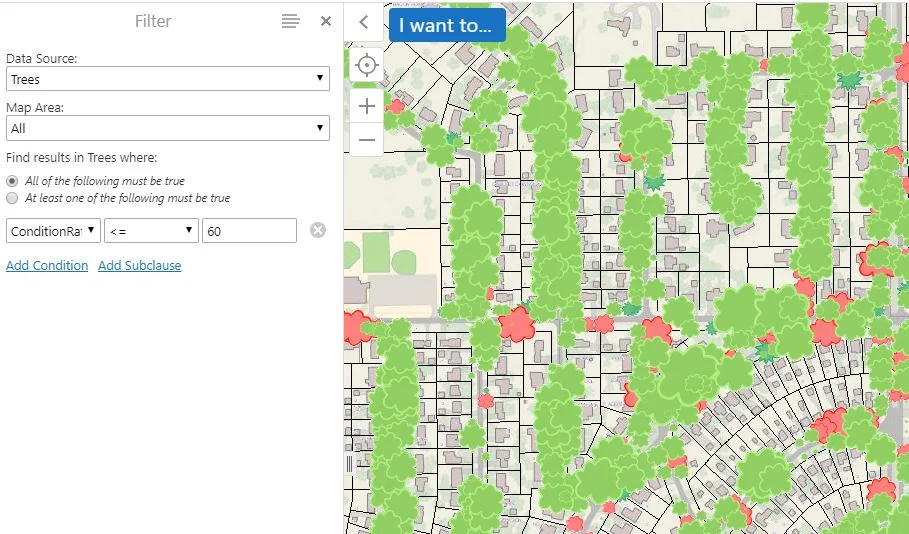
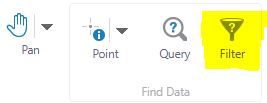
Using the filter tool is a great way to sort anything in your GIS application that requires routine maintenance (i.e. valves, trees). A filter presents a focused view of a feature layer in a map. By limiting the visibility of features in a layer, you can reveal what's important. To begin, we click on the filter button on our toolbar.
In this example, we are going to create a filter so that only trees with a condition rating of 60% or lower appear in the viewer.

We are also able to add more than one "condition" to a filter. In this example we will filter trees with a condition rating of >=60% AND also contain the genus Fraxinus. To view the results of our filter, we click (suprise, suprise) "Filter" at the bottom left-hand side of the screen. As you may notice, there are now significantly less trees showing in our GIS application than when we began.

We can now identify particular trees and view their details. For instance, the ash tree below is marked for removal.

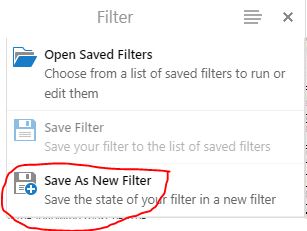
To save the filter for future reference, we just need to follow these simple steps. First, we click on the drop-down list and select "Save As New Filter."
Next, we give a name to our filter and press save.

When we would like to open up our filter at another time we click the filter tool button, the drop-down list, and then "Open Saved Filters."

We then see our filter listed!

There are options to edit, apply, rename, or delete the filter when clicking on the arrow next to it.

This is an example of an efficient way communities may utilize GIS and the filter tool for ash tree maintenance, given the on-going issues with emerald ash borer. Of course there are many other ways in which the filter tool can be applied based upon your general areas of interest within your community. We hope this example will be a useful guide for you when using your GIS applicatons!
